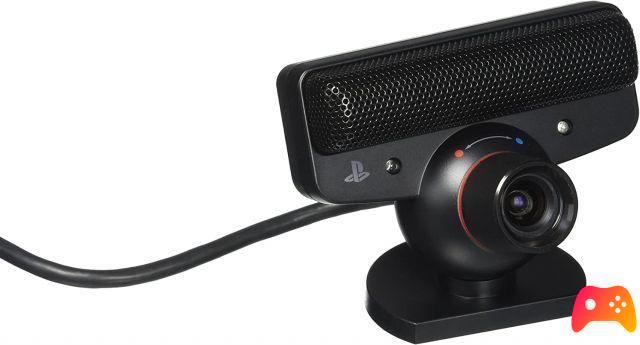
Heir to EyeToy for PlayStation 2 and replaced by PlayStation Camera for PlayStation 4, PlayStation Eye (also called PSEye, PS3 Eye or PlayStation 3 Camera) came out in 2007 bundled with The Eye of Judgment trading card game. As of 2010, PlayStation Eye was once again used to manage PlayStation Move: the motion peripheral with which Sony tried to revive the winning idea of the Nintendo Wii Wiimote.

Equipped with a built-in microphone and USB 2.0 connectivity, PlayStation Eye allows two different shooting resolutions: 640 × 480 for 60 FPS o 320 × 240 for 120 FPS. In short, in case you have both a PlayStation Eye closed in some closet collecting dust, and the need for a PC webcam without enormous demands, know that it is possible to recover the device and give it new life on Windows 10.
PlayStation Eye is not a Plug and Play device; this means that it is not enough to connect it to the PC to start using it. To make it recognized correctly by the operating system, you need to download an unofficial driver that you can find here. Then start the executable paying attention to connect PlayStation Eye to the PC only after installation is complete.
A shortcut called "CL-Eye Test" which, once launched, will launch the PlayStation Eye management program.

First of all, go to the "Devices" drop-down menu and set "PS3Eye Camera" as video device. Now, in addition to having a preview of what is framed by the camera, you will be able to set different settings for your video captures: from the paths in which to save the recordings to set some basic filters, as well as giving the start and end of the shooting.
In case you want to use PlayStation Eye in OBS, you will not be able to use a source of type "Video capture device" as the camera will not appear among the usable devices. Instead, just use a "Capture the window" type source setting it to “CL-Eye Test” and that's it.


